Step by Step: Installing Minecraft on a Chromebook
Author: Chloe
Mar 19,2025

Minecraft's immense popularity spans nearly every device, and Chromebooks are no exception. While Chrome OS presents unique challenges, running Minecraft on a Chromebook is entirely feasible. This guide details the installation process and offers performance optimization tips.
For optimal performance, your Chromebook needs:
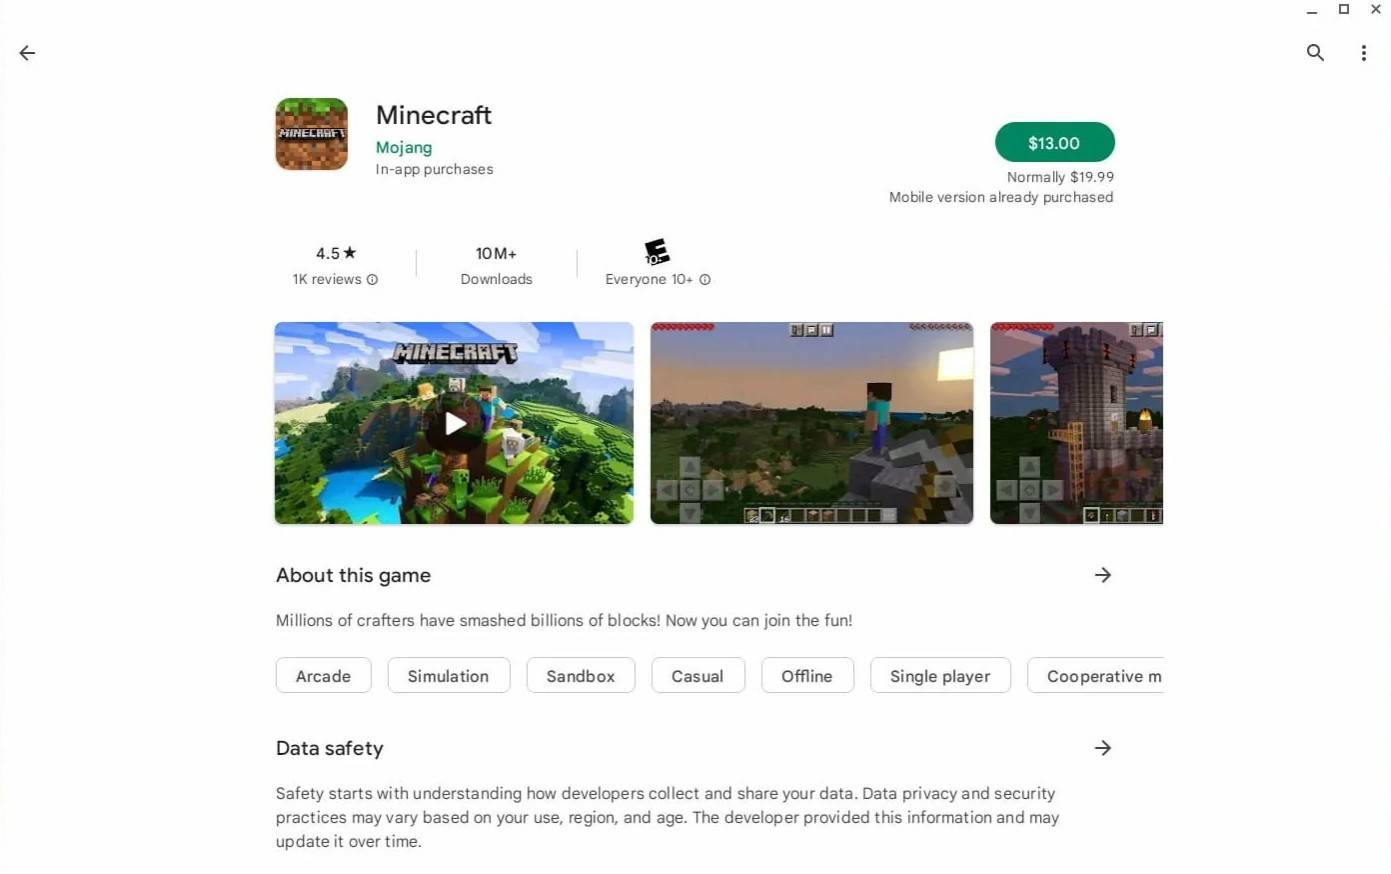
These are minimum requirements. If performance is still an issue, see the troubleshooting section at the end. The easiest installation method is via the Google Play Store. Simply search for Minecraft: Bedrock Edition, purchase it (or pay the difference if you already own the Android version), and install. This bypasses more complex installation methods.
However, if you prefer alternative versions, Chrome OS's Linux compatibility offers another route. This method requires more technical steps, detailed below.
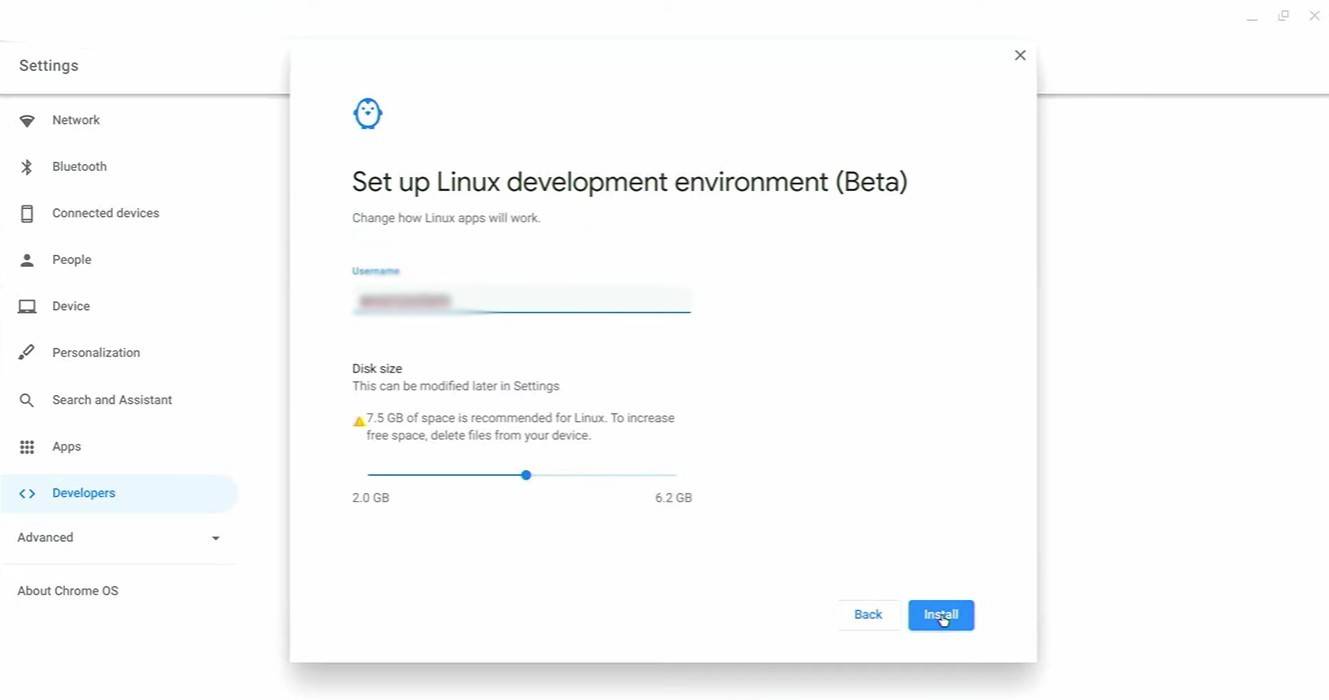
To enable Developer Mode, open the Chrome OS settings menu, navigate to the "Developers" section, and enable the "Linux development environment." Follow the on-screen instructions. Upon completion, the Terminal (Chrome OS's command line interface) will open, ready for further commands.
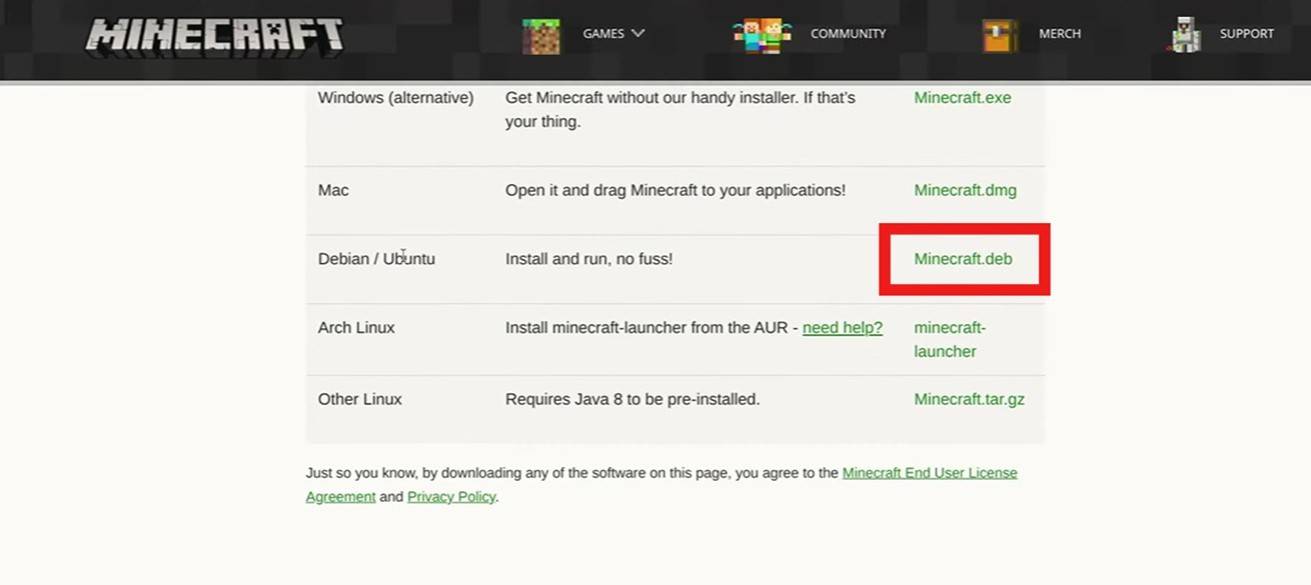
[ttpp] (This section requires detailed instructions for installing Minecraft via the Linux environment. These instructions should include specific commands and steps for downloading and installing the game within the Chrome OS Linux environment.)