How to Pair PS5 Controller to PC
Author: Dylan
Mar 16,2025

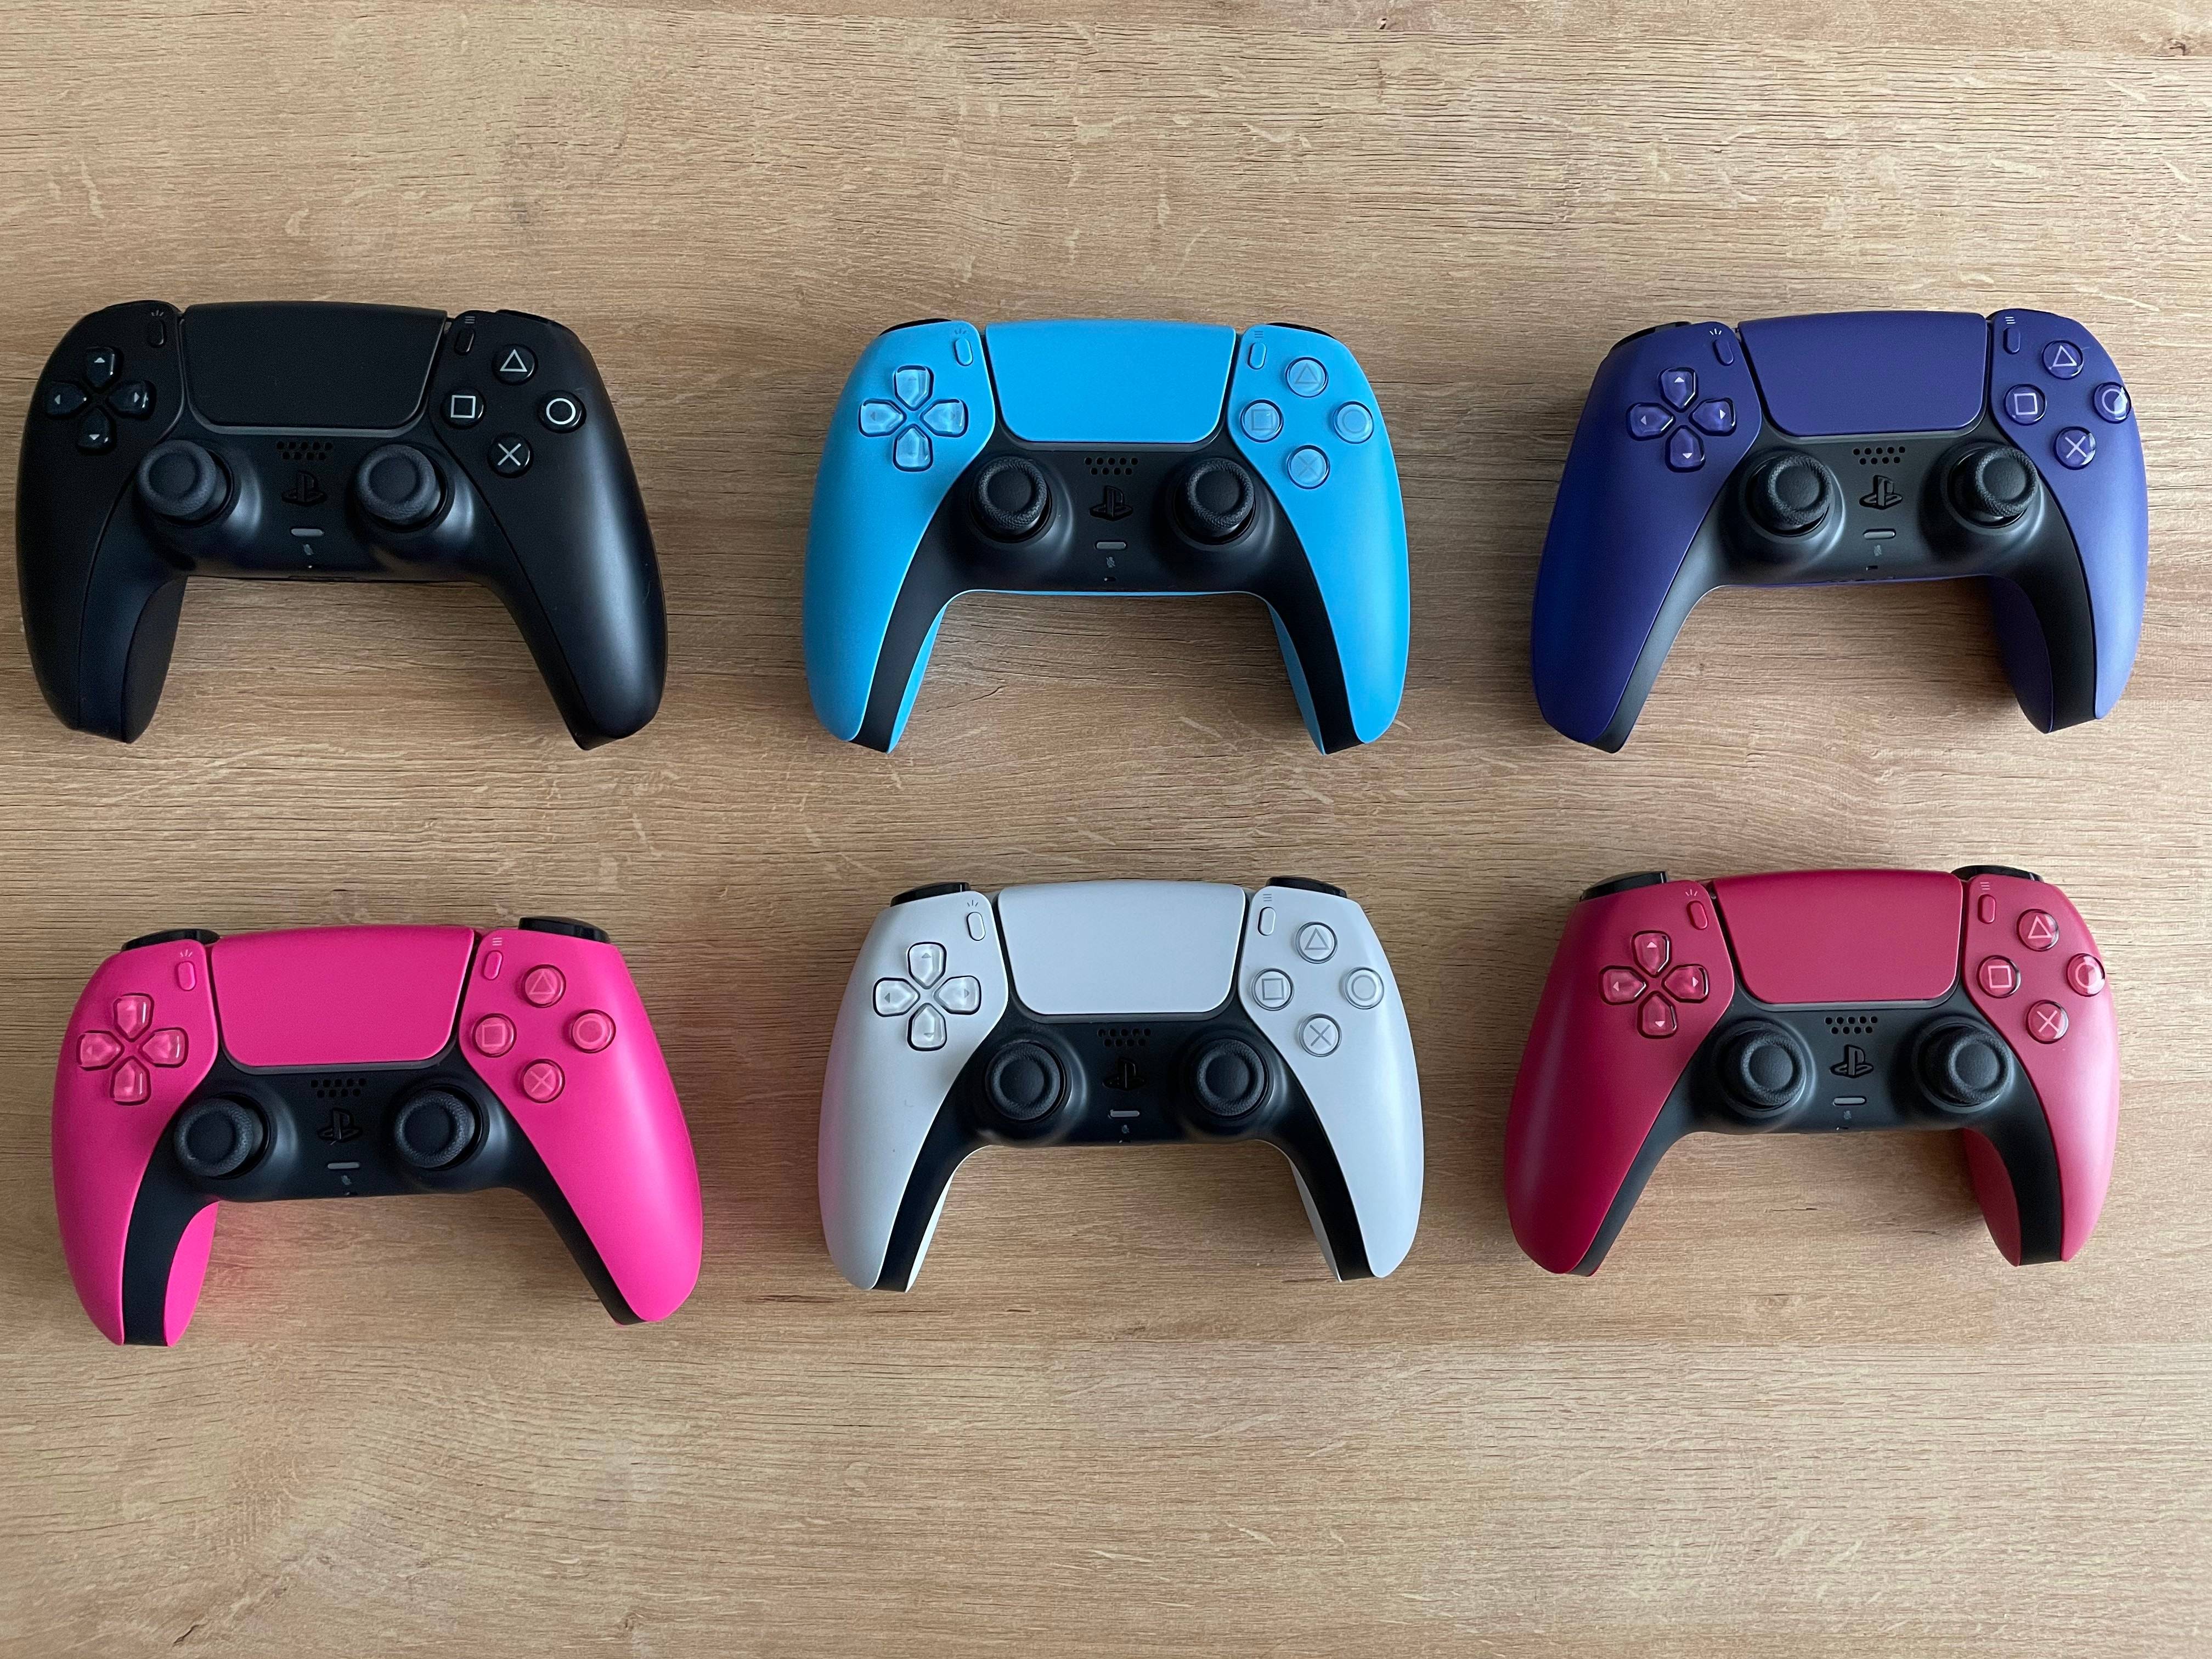
The Sony DualSense is widely considered the best PS5 controller, boasting impressive innovations, a comfortable grip, and excellent ergonomics for an optimal PlayStation 5 gaming experience. However, connecting it to a gaming PC might seem daunting, given past challenges with the DualShock 4. Fortunately, the DualSense offers significantly improved PC compatibility, making it a top contender among the best PC controllers. Below, we'll guide you through the simple connection process.
Items Needed:
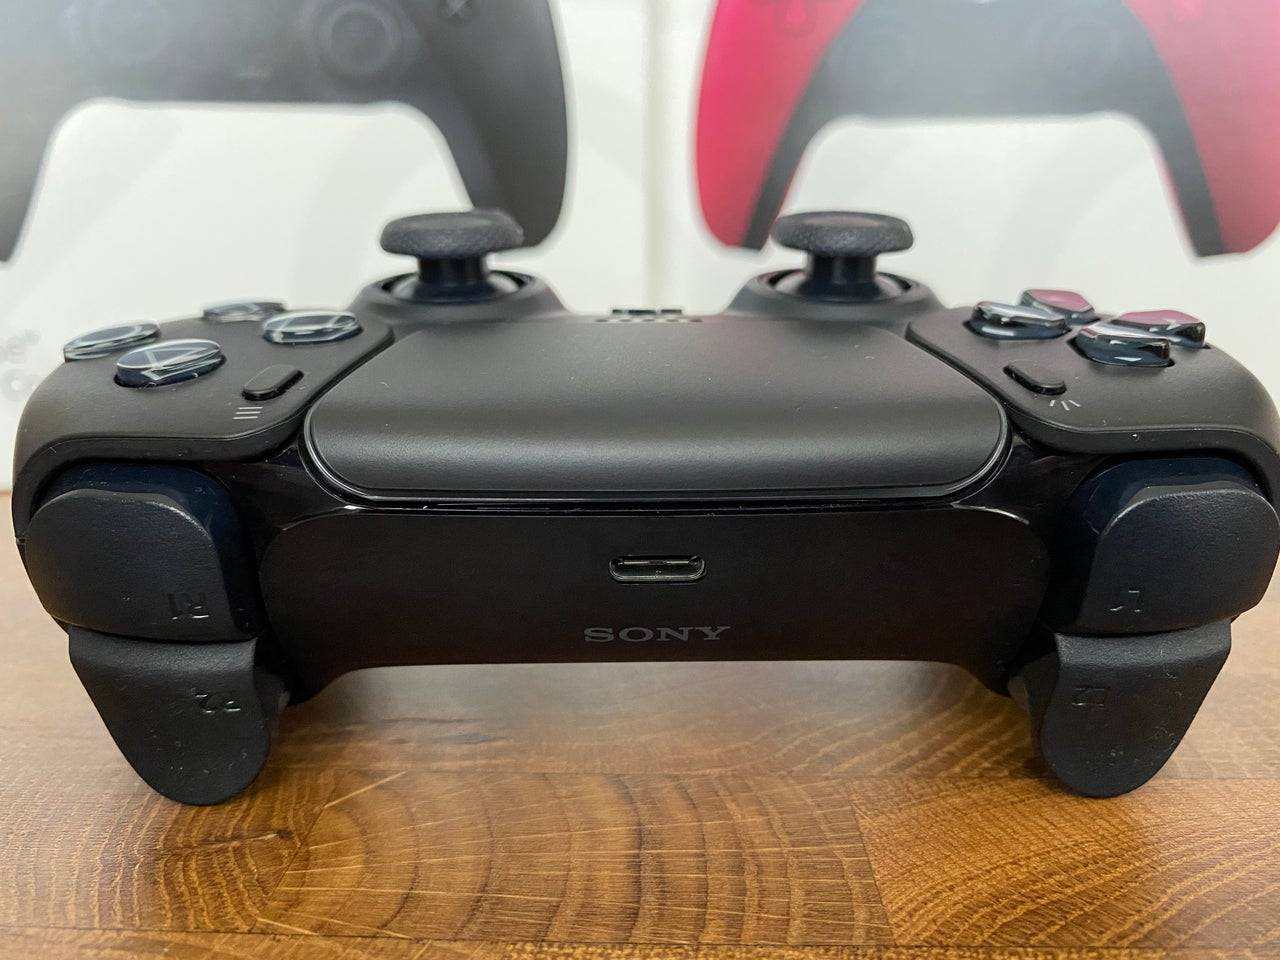
Connecting your DualSense to your PC requires either a data-transferring USB-C cable (not all USB-C cables support data transfer) or a Bluetooth connection. Since the DualSense doesn't include a cable, and not all PCs have built-in Bluetooth, you'll need to acquire the necessary equipment. Bluetooth adapters are readily available; some install in a PCIe slot, while others simply plug into a USB port.
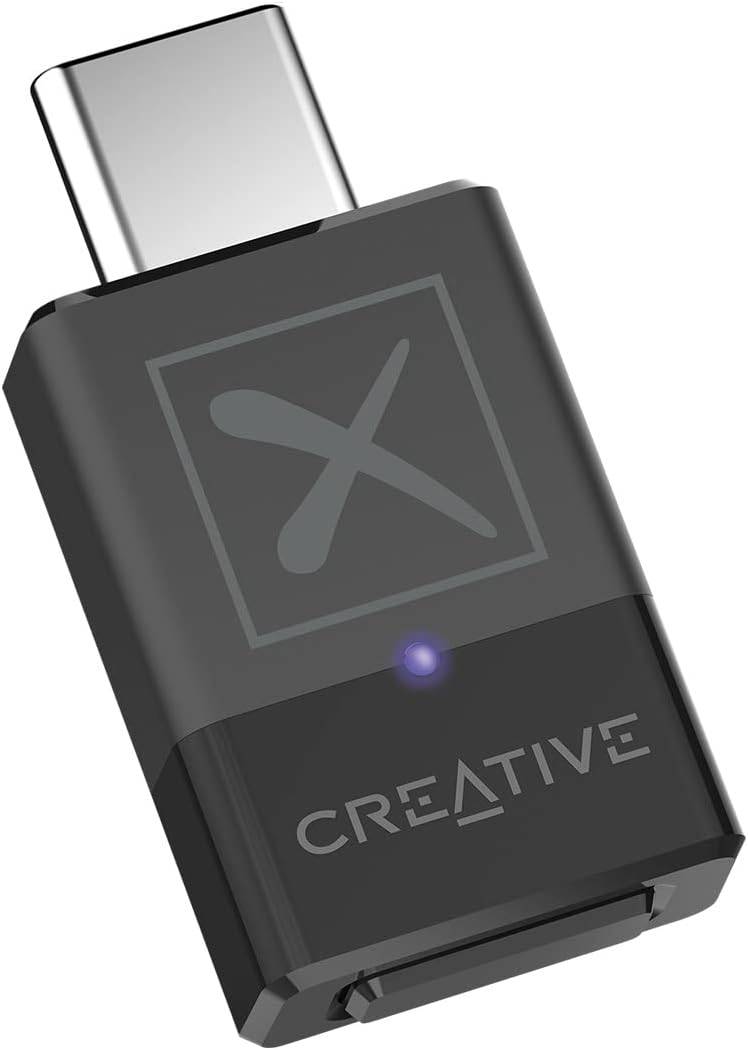
Our Top Pick: Creative BT-W5 Bluetooth Transmitter
Connecting via USB:
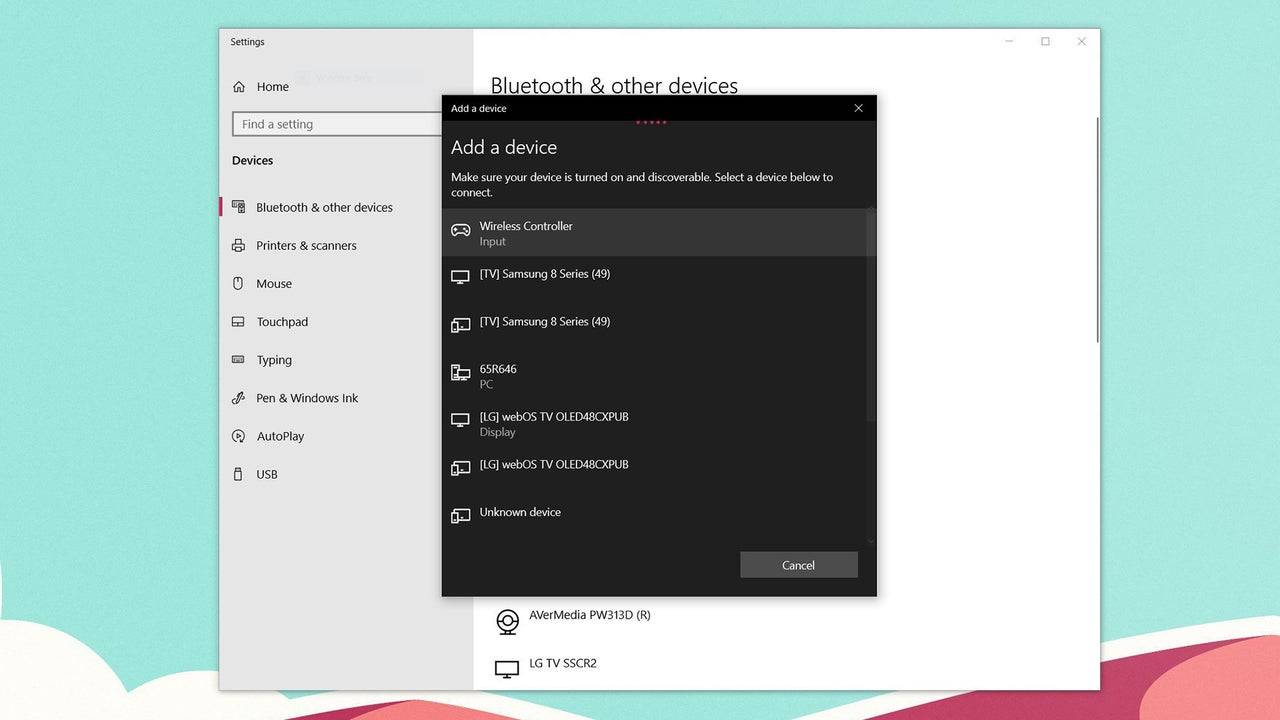
Connecting via Bluetooth: