Easy Steps to Build a Mob Farm in Minecraft
Author: Oliver
May 06,2025

In the world of *Minecraft*, a mob spawner is just as crucial as a well-tended farm or a bustling villager trading system. Here’s a comprehensive guide on how to create an efficient mob farm in *Minecraft*.
Embarking on this project requires ample resources. You’ll need a significant number of blocks, so start gathering them. While you can use almost any block type, cobblestone and wood are popular choices due to their abundance and ease of collection.
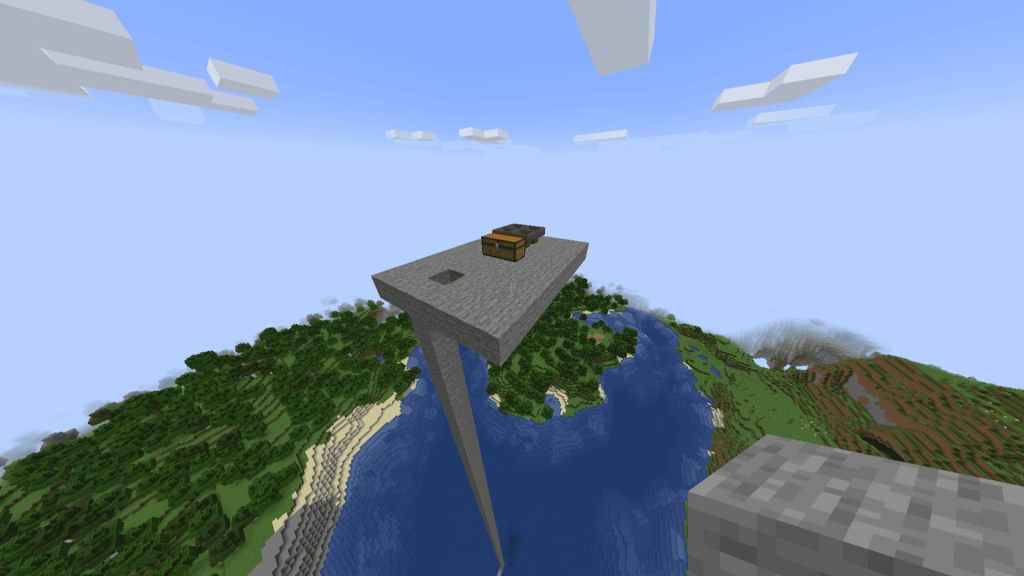 Screenshot By The Escapist The ideal spot for your mob spawner is up in the sky. Building it on the ground can be ineffective because mobs tend to spawn around or beneath you in caves instead of your designated area.
By constructing your spawner in the sky, you ensure that mobs will only spawn within your structure. For even better results, build it above a body of water, as mobs don’t spawn on water. Start by building across a body of water and then ascend about 100 blocks. Create a small platform for standing, which will be the base for your mob spawner. Install ladders for easy access up and down.
Finally, place a chest and connect four hoppers to it, as shown in the image.
 Screenshot by The Escapist Next, construct a tower around the hoppers, reaching up to 21 blocks high for XP farming or 22 blocks for an auto farm. You can tweak this height later if needed. Place slabs on top of the hoppers.
Related: Best Y Levels for Diamonds in Minecraft
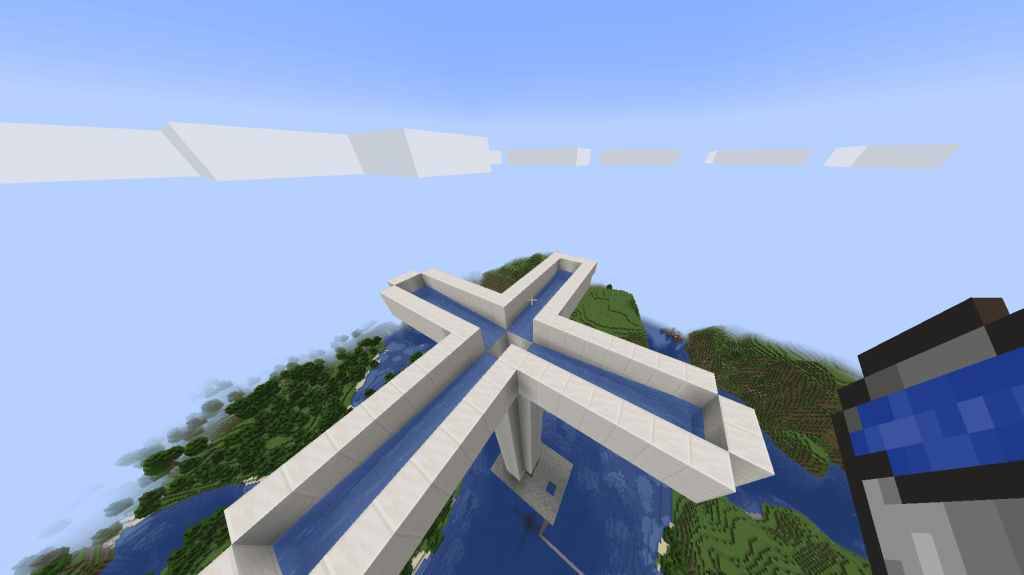 Screenshot by The Escapist Now, build a 7-block long and 2-block wide bridge on all four sides of the tower. Enclose these bridges with 2-block high walls, and place two water blocks at the end of each bridge. Position the water so it stops just at the end of the bridge, near the tower's opening.
Related: How to Make a Bucket in Minecraft
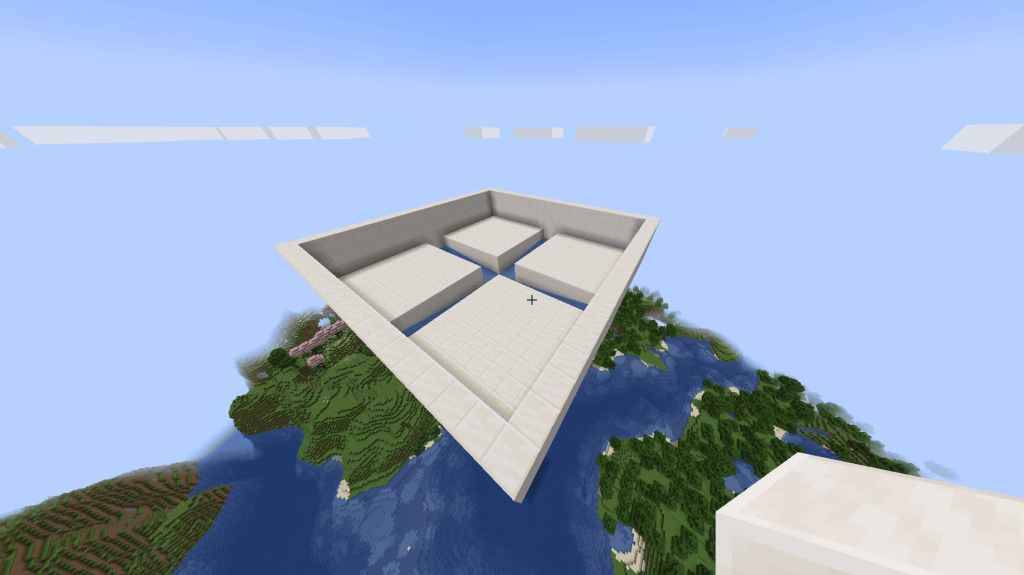 Screenshot by The Escapist As you near completion of your mob farm, connect all the water trenches to form a large square. Ensure the walls are at least two blocks high to facilitate mob spawning. This might seem like an extra step, but it’s crucial for efficiency.
Now, fill the interior of your structure, constructing the walls, floor, and roof.
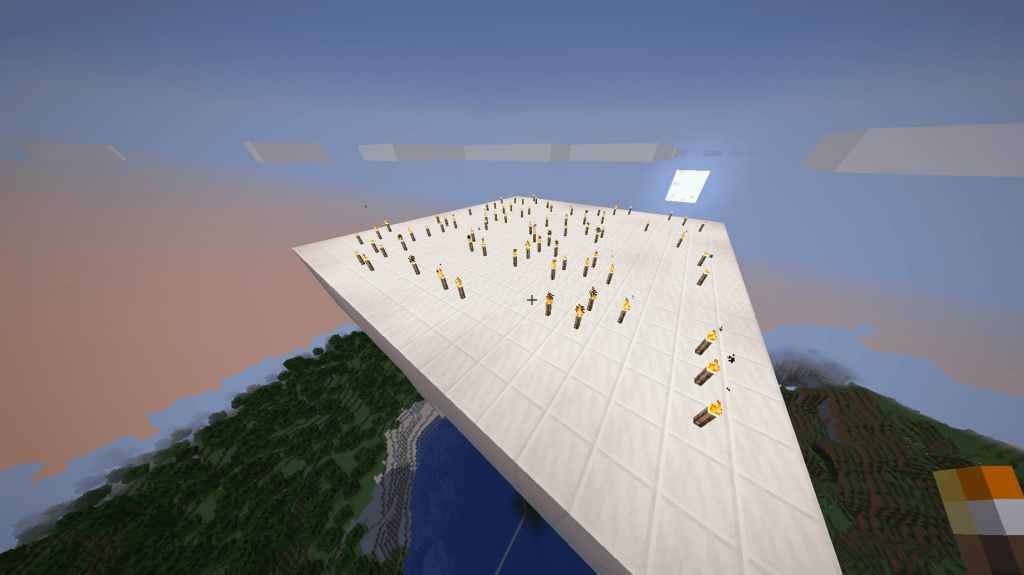 Your mob spawner is almost ready. Ascend to the roof and strategically place torches and slabs to prevent mobs from spawning on top of your structure.
After setting up, descend, wait for nightfall, and watch as mobs meet their fate.
 With the basic mob spawner complete, consider these enhancements to boost its efficiency.
To streamline access, link a Nether Portal to your mob spawner, or use a water elevator for ease of movement.
Your tutorial's 21-block high spawner keeps mobs alive for XP farming. Raising it to 22 blocks will kill mobs on impact. Install pistons to toggle between XP farming and auto-farming with a simple lever flick, or manually adjust the blocks.
Enhance mob spawn rates by placing a bed near your mob spawner in Minecraft.
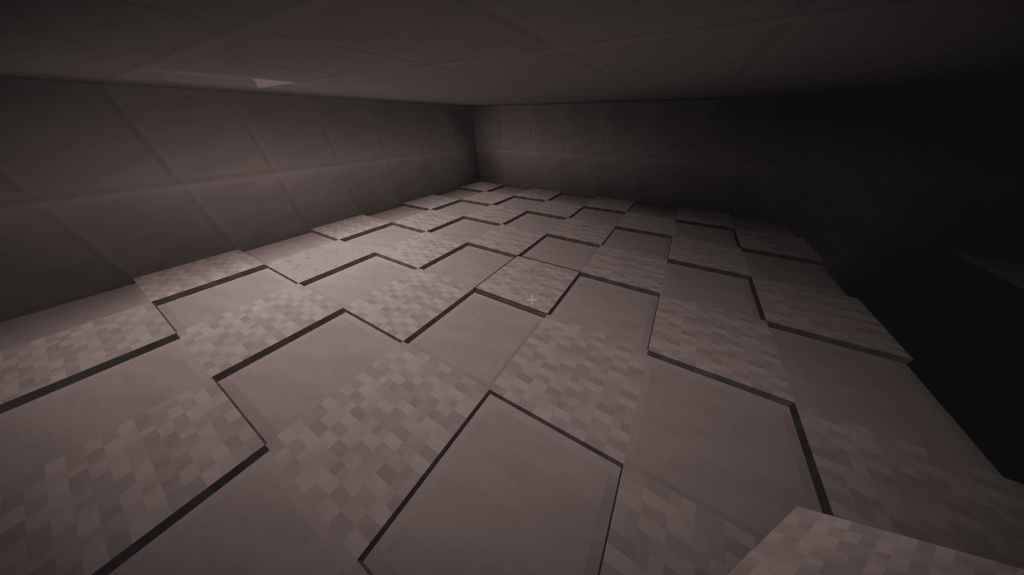 Spiders can be problematic in mob spawners as they cling to walls rather than falling into the trenches. To prevent this, place carpets on every other block across the spawning area. This spacing deters spiders from spawning, keeping your farm efficient.
And that’s how you craft a top-notch mob farm in Minecraft.
Minecraft is available now on PlayStation, Xbox, Nintendo Switch, PC, and mobile.